Create Your Account #
Signing up is free and takes no credit card. All you need is an email address you can check right away, because EventWillow confirms it with a code before the account is created.
- Open the sign-up page, type your email address in the Email field, and tick “I accept the Terms of Service and Privacy Policy”.
- Click “Continue”. A six-digit code is emailed to that address and stays valid for 10 minutes. If the address looks like a typo of a common provider (gmial.com, say), the page offers the corrected address first, so no code is sent to an inbox nobody reads.
- Type or paste the code into the six boxes. It is checked straight away: the boxes turn green when it is right, or red, with the reason, when it is not.
- Enter your Full Name and a Password of at least 8 characters, then click “Create Account”.
- You are signed in immediately, with the email already verified, and EventWillow asks you to pick a channel type.
If the code does not arrive, “Didn’t receive the code? Resend code” appears under the boxes after 30 seconds, with a note on where else to look (the spam folder, and the email’s subject line, which carries the code too). You can request up to five codes per hour for the same address. Typed the wrong address? Click “Use a different email” to go back a step. Your timezone and language are detected from your browser, so there is nothing to choose during sign-up.
Already confirmed an email sign-up on someone’s channel? That set up an account on your address with no password yet. Sign up with the same address and the form completes that account, so the channels you follow come with it. If you added a password back then, sign in instead.
Signing up with Google is quicker
Click “Continue with Google” instead and there is no code to enter: Google has already confirmed the address, so the account is created verified and you land straight on the channel-type chooser. Either way, your data is yours, and we never share or sell your information.
Selfhosted installs work differently
On a selfhosted server the sign-up page doubles as the setup wizard: it asks for your MySQL details first, and the first account created there becomes the instance admin. After that, sign-up is closed unless you enable
ALLOW_REGISTRATION. See User Accounts and Registration for the details.
Create Your Channel #
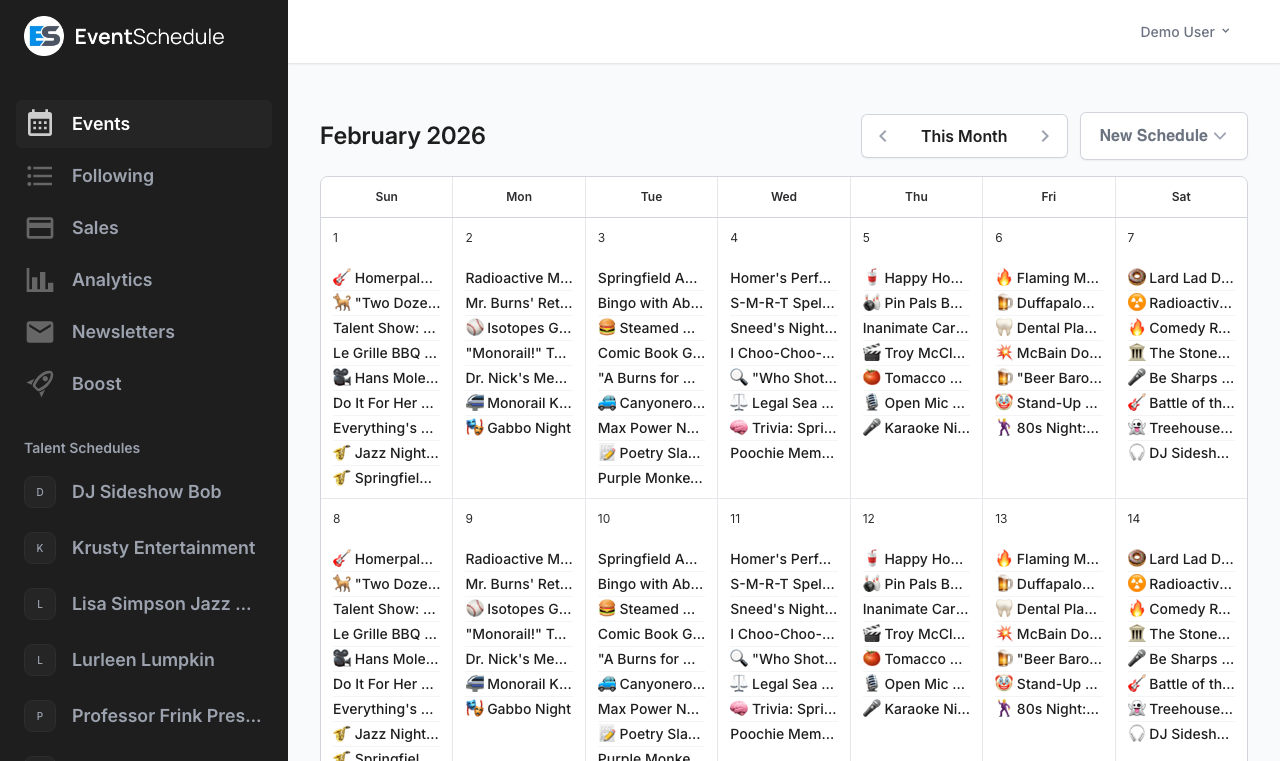
A channel is your event calendar: it is where your events live, and it gets its own public page that you share with your audience. Creating one is a single form, and almost none of it is required. Only Channel Name and Email have to be filled in, plus Street Address on a Venue channel.
- Choose the type. Straight after sign-up you get a welcome screen with three cards, Talent, Venue and Curator. Pick the one that fits (see Channel Types below). If you would rather look around first, click “Skip for now” and come back later.
- Name it. The form asks for a Channel Name and, for a Venue, a Street Address. That is all it needs. For a Talent channel the name is prefilled with your own name.
- Check the details underneath. Your contact email and timezone are taken from your account and shown below the form. Both can be changed afterwards, along with everything else, from the channel’s own settings.
- Click “Save”. EventWillow creates the channel and, if it is your first, takes you straight to adding an event. Everything else – description, images, colours, integrations – is optional and waits for you in settings. See Customize Your Channel for what each section holds.
Already have an account and want another channel? Use the “New Channel” dropdown in the top right of the dashboard: it offers the same three types and opens the same form.
Your channel URL
You do not pick the URL on the create form. It is generated from the channel name, so a channel called “Blue Note Jazz” becomes
https://blue-note-jazz.eventwillow.com. To change it afterwards, open Edit Channel → Settings → General, then click Edit under Channel URL. Do it early: changing the URL breaks any link you have already shared.
The contact email has to be verified
A channel only goes live once its contact email is confirmed. Until then its public page shows visitors a page-not-found, you and your team are taken into the app when you open it signed in, and the View Channel button is greyed out. Keeping the prefilled account email means it is verified from the start. If you enter a different address, EventWillow emails it a verification link and shows a “Please verify the email address” banner with a Resend Email button until you click it. The same banner comes back if you change the address later. (A verified phone number counts too, but the email is the route almost everyone takes.)
Channels are public
The create form says so too: your channel will be publicly visible. If you want to work on events before anyone sees them, save them as Drafts rather than trying to hide the channel.
Channel Types #
There are exactly three channel types. The quickest way to choose is to ask what stays the same across your events: the performer, the place, or neither.
| Type | Best For | Pattern | Example |
|---|---|---|---|
| Talent | Musicians, DJs, performers, speakers | Your events at various venues | A band listing their upcoming shows |
| Venue | Bars, clubs, theaters, event spaces | Various events at your venue | A club listing everything on its stage |
| Curator | Promoters, bloggers, community organizers | Various events at various venues | A local music blog listing concerts in the area |
The type is not just a label: it changes which parts of the admin panel you get.
- Talent channels prefill the channel name with your own name, and add an Availability tab to the admin panel for marking the days you can be booked Enterprise – Requires the Enterprise plan
- Venue channels get an Address section with address validation and a map, so visitors can find you and events inherit the location. Street Address is the one extra required field. They also get a Seating tab for drawing a reusable plan of the room and selling reserved seats from it Enterprise – Requires the Enterprise plan
- Curator channels get an Event Sources section that pulls in every event published by the talent and venue channels you pick, a Videos tab for matching YouTube videos to the talent you list, and they ask visitors to sign in before submitting an event. That is the Require Account toggle under Engagement → Requests, which starts on for curators and off for venues. Talent channels do not have it.
The type is fixed once the channel is saved
There is no setting for changing a channel from Talent to Venue later. While you are still on the create form for your first channel, the “Choose a different type” link next to the type badge at the top takes you back to the chooser. After saving, create a second channel of the other type instead: one account can run all three.
Customize Your Channel #
Everything below lives on one page. Open your channel’s admin panel and click “Edit Channel”, then use the sidebar to jump between sections. Nothing here is required to publish, so start with Details and Style and come back later. The table follows the sidebar order.
| Section | What you set there | Shown when |
|---|---|---|
| Details | Three tabs. General holds the name, Short Description and the Markdown Description. Localization holds the language, an optional second language to offer translations in, the timezone your event times are read in, and a 24-hour clock toggle. Contact Info holds the email, phone and website. | Always |
| Address | Street address, city, state, postal code and country, with Validate Address and View Map. This is what puts a map on your page and on your events. | Venue channels |
| Style | Three tabs. Branding takes your Square Profile Image (your logo), accent colour and font. Background covers the header style, header image and page background. Advanced holds the default event layout and custom CSS. Full reference in Channel Styling. Custom CSS requires Pro – Requires the Pro plan | Always |
| Videos & Links | Your featured YouTube videos and your social links. Each social link also answers at a short address on your channel URL, which counts its clicks. | After the first save |
| Customize | Four tabs. Sub-channels creates colour-coded groupings such as “Live Music”, “DJ Nights” or “Comedy” that visitors can filter by; they organize and colour-code, and do not hide anything. The other three are Custom Fields, Categories and Custom Labels. Custom fields and custom labels require Pro – Requires the Pro plan | Always |
| Settings | Tabs for General (including the Channel URL), Notifications and Advanced. | Always |
| Engagement | Event requests from visitors, fan content, post-event feedback, carpooling and sponsor logos, each on its own tab. | Always |
| Gift Cards | Sell balance-tracked gift cards that buyers send to a recipient by email. Requires Pro – Requires the Pro plan | After the first save |
| Event Sources | Pick talent and venue channels, and every event they publish appears on yours automatically. | Curator channels, after the first save |
| Auto Import | Read events from a list of web pages once a day. An optional list of cities keeps only the events held there. | Selfhosted installs |
| Integrations | Tabs for Google Calendar, Outlook Calendar, CalDAV Calendar and Advanced, plus Email Settings on eventschedule.com. | Always |
Every one of these sections is covered field by field in Creating Channels.
What the free plan leaves out
Almost nothing on this page needs a paid plan. The free plan runs unlimited events, syncs calendars, takes unlimited RSVPs and free registrations, embeds your calendar and makes event graphics. Putting a price on a ticket is what needs Pro, and Pro also adds the live check-in dashboard (scanning tickets at the door is free on every plan), custom fields, custom CSS and removing the EventWillow branding. There is no platform fee on any plan, and money always goes to your own Stripe, PayPal or other account. Enterprise adds custom domains, extra team members, availability and the AI generation features. Compare them on the pricing page. A selfhosted install resolves to Enterprise, so nothing is held back there.
Frequently Asked Questions #
Can I have multiple channels? #
Yes. One account can own up to 50 channels on eventschedule.com, and a selfhosted install has no limit. This is how you run several bands, venues or organizations side by side, and how you mix types, since a channel’s type cannot be changed after it is saved.
How do I change my channel URL?
Open your channel’s admin panel, click “Edit Channel”, go to Settings → General and click Edit under Channel URL. See Channel Settings for details. Changing it breaks existing links, so do it before you start sharing.
What is the difference between the channel types?
Talent is your events at various venues, and adds an Availability tab (Enterprise). Venue is various events at your venue, and adds an Address section with a map. Curator is various events at various venues, and adds Event Sources and a Videos tab. Pick carefully: the type is fixed once you save.
Can I import events from my existing calendar?
Yes, and it is free. Connect a calendar under Edit Channel → Integrations, which has a tab for Google Calendar, Outlook Calendar and CalDAV Calendar. For each one you pick a direction: push your events to the calendar, pull its events in, or both. For a one-time copy instead, import events by pasting a link to a calendar or an events page, some text or a photo of a flyer.
Is EventWillow free?
Yes, with no time limit and no credit card. The free plan covers unlimited events, your own channel URL, calendar sync, analytics, unlimited RSVP with capacity limits, embedding your calendar, one appointment type, and 10 newsletter emails a month (each recipient counts as one email, so one send to 100 followers uses 100). Selling a ticket that carries a price is a Pro feature: Pro is $5 a month, Enterprise is $15 a month for custom domains and team features, and both start with a 7-day free trial. There is no platform fee on any plan.
How do I get paid for tickets?
Connect your own account under Settings → Payment Methods: Stripe, PayPal, Payfast (South African rand only) or Invoice Ninja. A payment link, or cash at the door, works too. You pick the method on each event, and the money goes to your own account with no platform fee on any plan. A Stripe or PayPal sale can be refunded in full or in part from the Sales page, and the money goes back through the provider; any other sale can be marked as refunded there. See Payment Methods and Managing Sales.
How will people hear about my new events?
Share your channel link, or embed the calendar on your own site. Visitors can leave their name and email in the sign-up panel on your channel page, and once they confirm they get a digest of the new events your channel publishes, at most one every few days. Anyone can also subscribe to your calendar feed, which keeps your events current in their own calendar app, and if you switch on the “Notify me” card, a visitor can press Tell me when tickets go on sale on an event that is not on sale yet to hear about that event alone. See Sharing Your Channel.
Someone already made a page for my act or venue. How do I claim it?
If a promoter, venue or curator listed you on an event before you had an account, EventWillow created a page for you at that moment. Open it and press Claim this page. Signed out, you are taken to sign up, and signing up with the email address on the page hands it to you. Signed in with a verified account on that email address or phone number, you confirm and the page is yours; signed in with a different one, the page shows the contact it answers to in masked form, so you know which account to use. Claiming makes you the owner, and the channels that already listed you keep listing you. If you cannot reach that contact, ask whoever listed you to correct it. If the page is not about you at all, press This is not me instead. See Pages Created for Others.
My channel page will not open. What is wrong?
Almost always an unverified contact email. A channel stays offline until its email address is confirmed, so check your inbox for the verification link, or use the Resend Email button on the yellow banner at the top of the admin panel.
Next Steps #
Your channel is live. The obvious next move is to add an event, which is the third step of the three-step indicator on the channel-type chooser: create account, create channel, create event.
- Add your first events – Create events by hand, clone them, or import them
- Configure your channel – Settings, sub-channels, event requests, and calendar sync
- Style your channel – Colors, fonts, headers, and backgrounds
- Share your channel – Embed it on your website and post it to social media
- Set up ticketing – Sell tickets through Stripe, PayPal or another payment method with no platform fee; a ticket that carries a price needs Pro
- Account settings – Your profile, password, payments, and API access
Adapted from the Event Schedule user guide. Upstream screenshots are included for reference. Original guide